cPanel has been updated to a newer version, which, among other things, results in changed calendar functionality. In some cases, users experience synchronization errors in Outlook if they use CalDav Synchronizer. The error typically appears as follows:
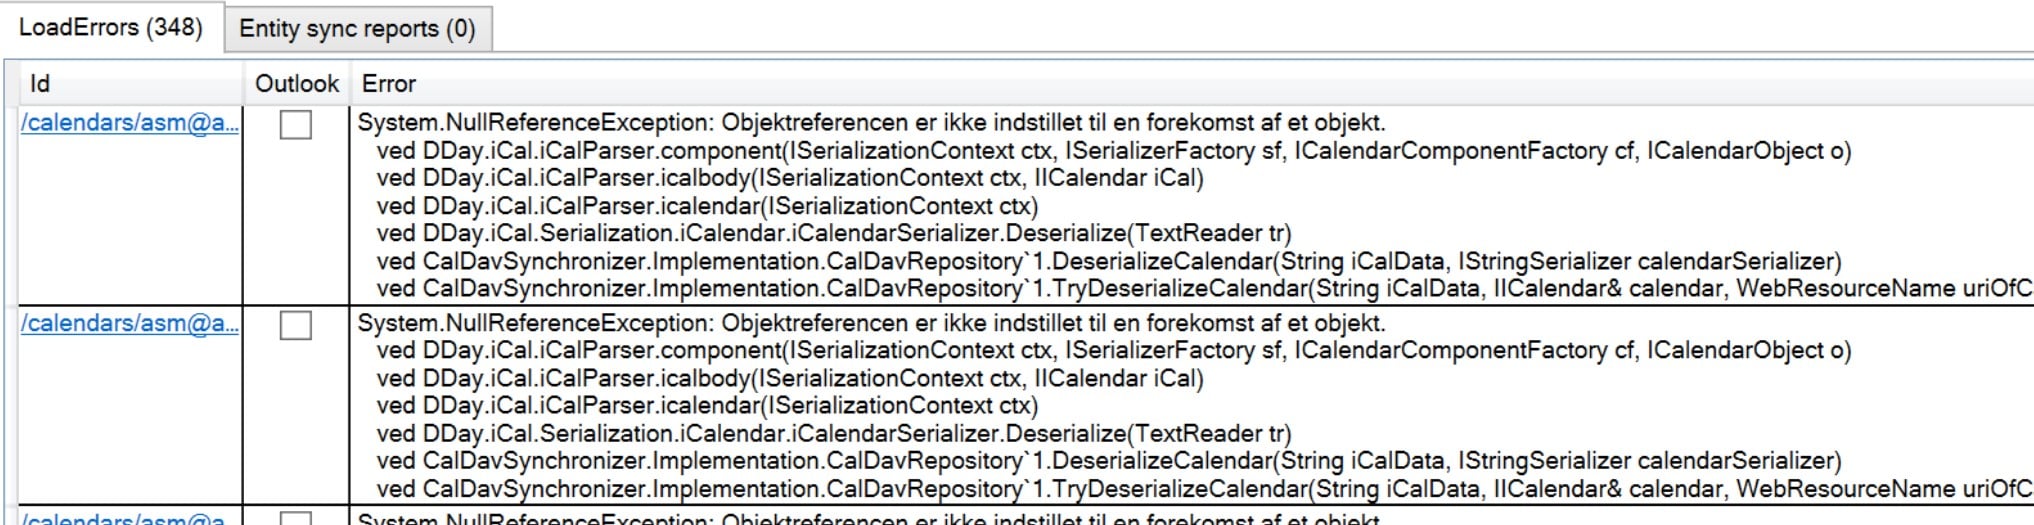
False System.NullReferenceException: Object reference not set to an instance of an object.
at DDay.iCal.iCalParser.component(ISerializationContext ctx, ISerializerFactory sf, ICalendarComponentFactory cf, ICalendarObject o)
at DDay.iCal.iCalParser.icalbody(ISerializationContext ctx, IICalendar iCal)
at DDay.iCal.iCalParser.icalendar(ISerializationContext ctx)
at DDay.iCal.Serialization.iCalendar.iCalendarSerializer.Deserialize(TextReader tr)
at CalDavSynchronizer.Implementation.CalDavRepository1.DeserializeCalendar(String iCalData, IStringSerializer calendarSerializer)
at CalDavSynchronizer.Implementation.CalDavRepository1.TryDeserializeCalendar(String iCalData, IICalendar& calendar, WebResourceName uriOfCalendarForLogging, IStringSerializer calendarSerializer, ILoadEntityLogger logger)
Here is a solution to remove the errors. However, be aware that this will permanently delete old appointments (before today's date).
1: Open Outlook and go to your calendar
2: Click on "File" and then "Open & Export"
3: Select "Import/Export" and choose "Export to a file". Select "Outlook Data File (.pst)".
4: Choose the correct calendar and click "Next".
5: Save the file on your desktop or in a folder you can find again
6: Click "Finish". You do not need to set a password.
Your calendar appointments are now exported. Continue with the steps below.
7: Log in to your account and click on "File Manager" in the menu
8: Select the ".caldav" folder, then your email address, and finally "calendar"
9: Click on "Select All" and then "Delete"
10: Open Outlook and click on "Synchronize now" under "CalDav Synchronizer"
Your calendar should now be empty both in Outlook and on other synced devices.
11: Now repeat steps 1 and 2 and choose "Import from another program or file".
12: Select your backup file from step 5 and import it
13: Click "Synchronize now" again under CalDav Synchronizer.
Your appointments should now be back in your calendar and synchronized across all devices - now without error messages.